Python Write Excel xlsx File with Image Cell using OpenPyXL
In this Python openpyxl tutorial we learn how to write Excel xlsx files with image cells using the openpyxl package.
How to install the openpyxl package
To install the openpyxl package using the command below.
pip install openpyxlTo support image processing we also need to install the Pillow package using the command below.
pip install pillowStep by step to write Excel xlsx file with image cell
For example, we have an image named logo.png. Below is step by step to create a new Excel file which inserts the logo.png image to the first cell.
Import the Workbook and Image from the openpyxl package.
from openpyxl import Workbook
from openpyxl.drawing.image import Image
Create a new Workbook object.
wb = Workbook()Get the default active Worksheet object.
ws = wb.activeCreate an Image object from the logo.png image.
logo = Image('logo.png')
logo.height = 120
logo.width = 160
Use the add_image() method to add the image to cell A1.
ws.add_image(logo, 'A1')Then save the Workbook as image_cell.xlsx file.
wb.save('image_cell.xlsx')The complete Python program as below.
insert_image.py
from openpyxl import Workbook
from openpyxl.drawing.image import Image
wb = Workbook()
ws = wb.active
logo = Image('logo.png')
logo.height = 120
logo.width = 160
ws.add_image(logo, 'A1')
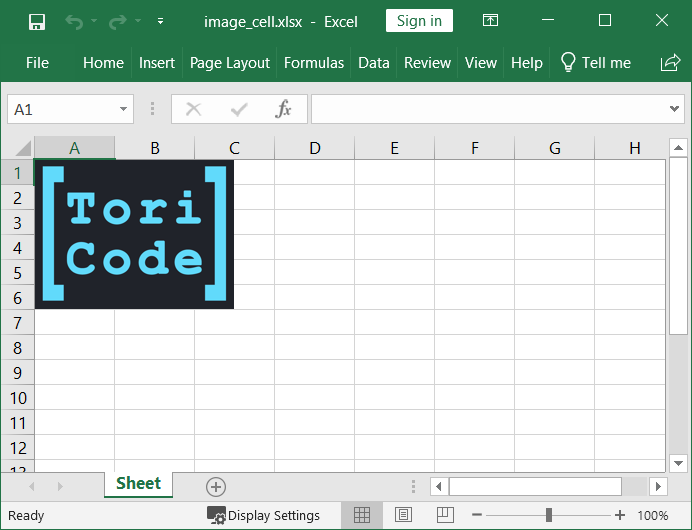
wb.save('image_cell.xlsx')Execute the above Python program we will get the Excel file image_cell.xlsx as below screenshot.
Happy Coding 😊